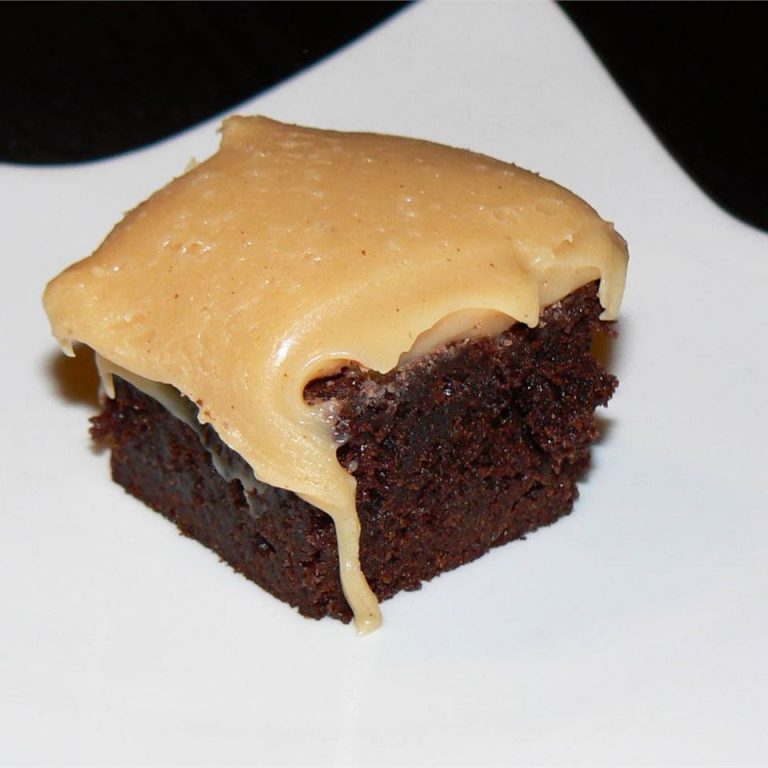
NO-BAKE CHERRY CHEESECAKE LUSH

This no-bake cherry cheesecake lush is a true dessert hero in my kitchen, a layered dream that delivers all the creamy, fruity, crumbly goodness of a classic cheesecake without ever turning on the oven. It’s the perfect blend of a buttery graham cracker crust, a rich and tangy cream cheese filling, and a vibrant cherry pie topping, all crowned with a light, airy whipped cream. This dessert isn’t just easy; it’s a refreshing showstopper that looks far more complicated to make than it actually is, making it an absolute must-try for any occasion, especially when you need something impressive yet effortless.
There’s a special place in our family’s recipe box for this cherry cheesecake lush. It started years ago, when I was desperately trying to find a dessert that could withstand a scorching summer potluck without wilting into oblivion. I stumbled upon a simple layered dessert concept, and with a few tweaks, this cherry lush was born. My husband, bless his heart, declared it “pure genius” after his first bite, and since then, it’s become the unofficial dessert of all our warm-weather gatherings. From backyard barbecues to impromptu weeknight treats, the request for “that cherry layered thing” is a constant. It’s a dish that brings smiles, second helpings, and a collective sigh of happy indulgence around our table.
You may also like:
Why You’ll Love This no-bake-cherry-cheesecake-lush
You’ll fall head over heels for this recipe because it truly is the ultimate no-fuss dessert that still manages to feel incredibly decadent.
It’s genuinely a breeze to assemble, making it perfect for novice bakers or anyone short on time but still craving something spectacular.
The combination of the crunchy crust, creamy cheesecake layer, and sweet-tart cherry topping creates an irresistible symphony of textures and flavors in every bite.
Being a no-bake treat, it’s absolutely ideal for warm weather, holidays when your oven is already occupied, or simply when you want a cool, refreshing dessert.
It’s a fantastic crowd-pleaser that appeals to nearly everyone, guaranteeing rave reviews and disappearing quickly at any potluck or family dinner.
Plus, it can be made entirely ahead of time, allowing you to focus on other tasks and simply pull it from the fridge when it’s time to serve.
Behind the Recipe
Through countless iterations of this lush, I’ve learned that patience with chilling time is your best friend. Don’t try to rush it; that solidifies the layers and makes for clean, beautiful slices. I’ve also found that using full-fat cream cheese is non-negotiable for that rich, sturdy cheesecake layer—anything less can lead to a slightly too-soft consistency. A little secret for an extra creamy whipped topping: make your own! While store-bought works in a pinch, freshly whipped heavy cream with a touch of powdered sugar and vanilla truly elevates the entire dessert to another level of luxury. And for the crust, pressing it firmly and evenly into the pan prevents crumbling when serving, which is always a bonus.
Shopping Tips
- Dairy: Opt for full-fat block cream cheese, not the spreadable kind in a tub, as it provides the necessary firmness and richness for the cheesecake layer. Also grab heavy whipping cream, which whips up beautifully for the top.
- Fruit: You’ll need a good quality canned cherry pie filling. Look for one with whole or nearly whole cherries and a nice, thick glaze for the best presentation and flavor.
- Baking Basics: Pick up a box of classic graham crackers for the crust; their mild sweetness and texture are perfect. You’ll also need powdered sugar for the whipped topping.
- Fats & Oils: Unsalted butter is best for melting down to bind your graham cracker crust. If you only have salted, just reduce any other added salt in the recipe slightly.
- Flavorings: A good quality vanilla extract makes a noticeable difference in the creamy layers, so don’t skip it. Pure vanilla extract offers the best flavor.
Prep Ahead Ideas
The beauty of this no-bake lush is how much of it can be prepared in advance. You can fully assemble the entire dessert the day before you plan to serve it, allowing it ample time to chill and for all the flavors to meld beautifully. You can also prepare just the graham cracker crust and the cream cheese layer a day or two ahead, covering them tightly and refrigerating until you’re ready to add the cherry topping and whipped cream.
Time-Saving Tricks
To shave off some time, look for pre-crushed graham cracker crumbs, though crushing them yourself only takes a few minutes in a food processor. Using a stand mixer or electric hand mixer will whip your cream cheese layer and heavy cream topping to perfection much faster than by hand. For quick chilling, you can pop the assembled dessert into the freezer for about 30-45 minutes between layers, but always finish with a good chill in the fridge for the best texture.
Common Mistakes
One of the most common pitfalls is not chilling the dessert long enough between layers or before serving. This can result in a soft, messy dessert that doesn’t hold its shape. Another mistake is overmixing the cream cheese layer once the powdered sugar and cream cheese are combined; mix just until smooth to keep it light. Lastly, ensure your graham cracker crust is pressed firmly and evenly into the pan; a loose crust can crumble when you try to slice it.
What to Serve It With
This decadent no-bake cherry cheesecake lush is a star on its own, so it doesn’t need much accompaniment. A simple cup of hot coffee or a glass of iced tea makes for a delightful pairing. For an extra touch of elegance, a few fresh mint leaves or a sprinkle of white chocolate shavings on top of each slice can elevate its presentation without overwhelming the flavors.
Tips & Mistakes
Storage Tips
Store in airtight containers in the fridge. It reheats beautifully, but if you sneak a bite cold straight from the container, it still works.
Variations and Substitutions
While the classic cherry is undeniably wonderful, this lush is incredibly adaptable. You can easily swap out the cherry pie filling for other fruit pie fillings like blueberry, peach, or even apple for a different seasonal twist. For the crust, consider using crushed chocolate cookies or shortbread cookies instead of graham crackers. If you want to add an extra layer of flavor to the cream cheese filling, a touch of lemon zest or almond extract can be lovely, though I often find the classic version, with its simple vanilla notes, is truly hard to beat for its comforting familiarity.
Frequently Asked Questions
NO-BAKE CHERRY CHEESECAKE LUSH
Ingredients
Main Ingredients
- 1.5 cup graham cracker crumbs
- 0.25 cup granulated sugar
- 6 tbsp unsalted butter, melted
- 16 oz cream cheese, softened about 2 (8 oz) packages
- 1 cup powdered sugar sifted
- 1 tsp vanilla extract
- 8 oz whipped topping (Cool Whip), thawed
- 3.4 oz instant vanilla pudding mix one 3.4 oz package
- 2 cup cold milk for pudding
- 21 oz cherry pie filling one can
- 0.5 cup chopped pecans or walnuts (optional) for topping or layer
Instructions
Preparation Steps
- In a medium bowl combine graham cracker crumbs and granulated sugar. Stir in melted butter until mixture resembles wet sand.
- Press the crumb mixture evenly into the bottom of a 9x13 inch baking dish to form the crust. Refrigerate while you prepare the filling.
- In a large bowl beat the softened cream cheese until smooth. Add powdered sugar and vanilla and beat until creamy and well combined.
- Fold half of the whipped topping into the cream cheese mixture until light and fluffy. Spread the cream cheese layer evenly over the chilled crust.
- In another bowl whisk the instant vanilla pudding mix into cold milk for about 2 minutes until thickened. Spread the pudding layer over the cream cheese layer.
- Spread the remaining whipped topping over the pudding layer. Gently spoon the cherry pie filling evenly over the top. Sprinkle chopped nuts if using.
- Cover the dish and chill in the refrigerator at least 4 hours or overnight to set before slicing.
- Slice into 12 pieces and serve chilled. Store leftovers covered in the refrigerator for up to 3 days.
Notes
Nutrition
Featured Comments
“Super easy and absolutely loved! My family asked for seconds. Saving this one.”
“New favorite here — absolutely loved. crowd-pleaser was spot on.”