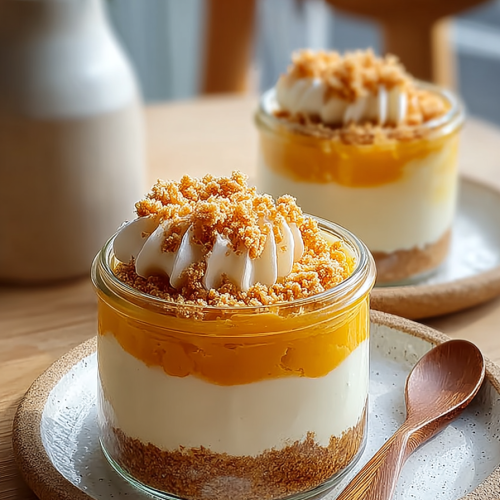
Easy Pumpkin Cheesecake Jars
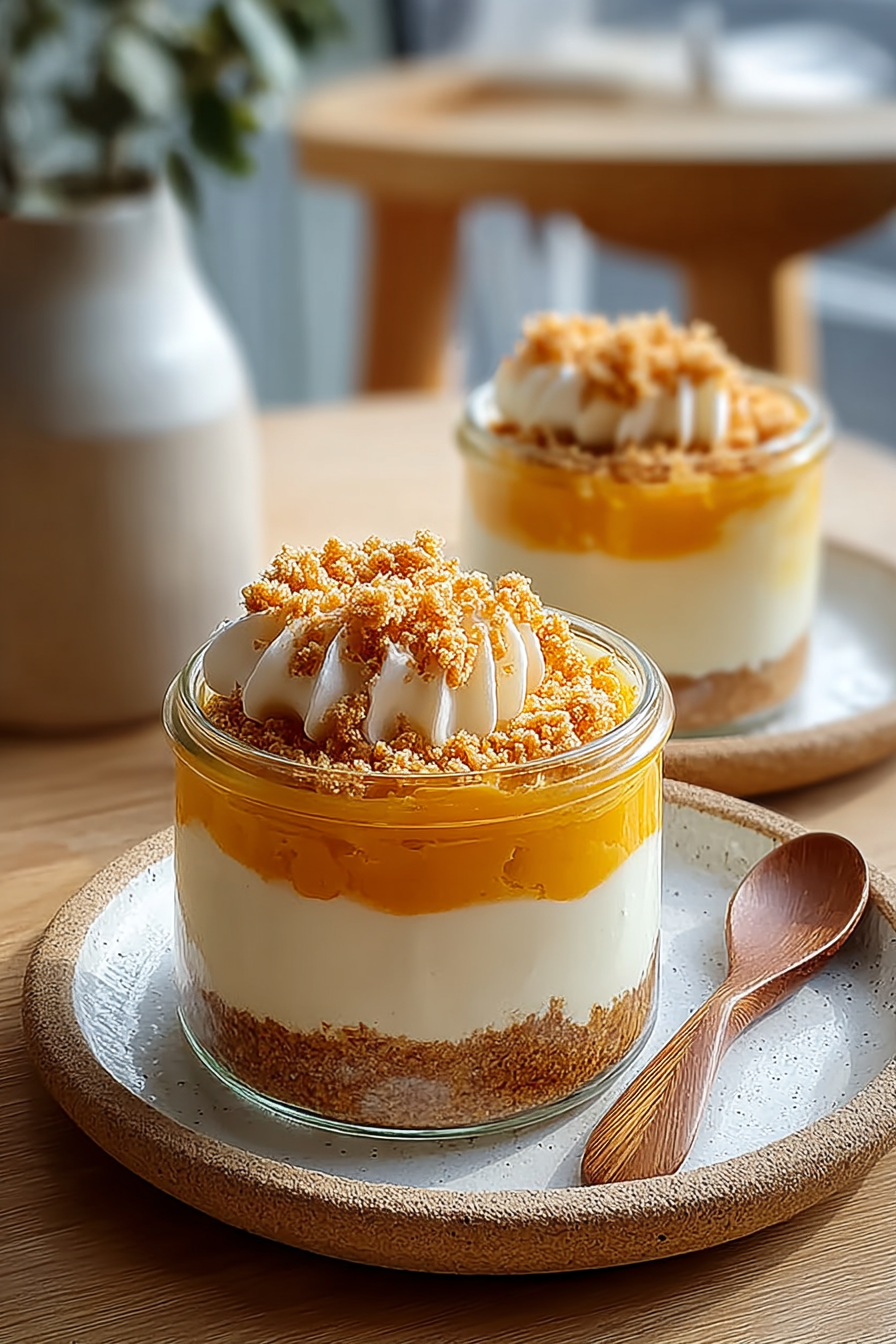
Okay, so I’m just gonna say it: sometimes you want a dessert that screams “fall cozy vibes” but without the actual, you know, *work* of a pie. Enter these Easy Pumpkin Cheesecake Jars. They’re basically all the best parts of a pumpkin cheesecake – creamy, spicy, perfectly sweet – layered up in cute little jars. No baking, no struggling with crusts, no worrying if it’ll crack when you slice it. Just pure, unadulterated pumpkin-y goodness ready for a spoon attack. They’re my go-to when I want to impress without actually putting in 12 hours of effort. Shhh, don’t tell anyone.
My husband, bless his heart, is a man of simple pleasures. Give him a whole pie, he’ll eat it in one sitting. Give him a whole cake, same story. So when I started making these individual jars, I thought, “Aha! Portion control!” Cute, right? Wrong. The first time, I made eight. Came back from running errands to find four missing. Four! He tried to blame it on the dog, who, mind you, is a chihuahua. Then he tried to claim “testing purposes” for quality control. Yeah, okay, buddy. Now I have to label them with names or hide them in the back of the fridge, under the leftover mystery casserole, just to ensure I get one. The kids? They just see a race to the bottom of the jar. It’s chaos, but it’s delicious chaos.
You may also like:
Why You’ll Love This Easy Pumpkin Cheesecake Jars
* It’s a no-bake wonder! Keep that oven free for, like, actual dinner. Or just to look pretty.
* Individual portions mean no fighting over the biggest slice. (Except with my husband, see above.)
* Hello, pumpkin spice! All the cozy fall feels without having to commit to a whole pie.
* They look fancy as heck, but are secretly so easy your cat could probably make them. (Don’t let your cat make them.)
* The ultimate make-ahead dessert, so you can actually enjoy your company instead of slaving away in the kitchen.
Time-Saving Hacks
– Shortcut that keeps you sane: Grab pre-crushed graham cracker crumbs. Seriously, don’t even bother with the food processor. Just buy the bag. You’re welcome.
– Hack that saves dishes but still looks like effort: Use a piping bag (or a Ziploc bag with the corner snipped) to pipe the cheesecake mixture into the jars. So much neater than spooning, and one less spoon to wash!
– The sneaky “cheat” you always pull when you’re in a rush: Top with a dollop of store-bought whipped cream. No one will know you didn’t whip it fresh, and honestly, who has the time?
Kitchen Confessions
– The disaster story: The first time I tried to layer these, I got super ambitious and packed the graham cracker layer in too thick. Then, when I added the cheesecake, the crumbs just floated up, creating a muddy mess. It tasted fine, but it looked like a toddler’s art project.
– A silly mistake you or your family made with this recipe: My youngest once decided the “cookie crumble” was just for him and scooped out all the graham cracker topping from half the jars before anyone else got one. The rest of us just had plain cheesecake. Still good, but not quite the same.
– Honest admission: I usually skip perfectly leveling the layers. As long as it’s mostly even and tastes good, it’s going into the jar. Rustic, right? That’s my story and I’m sticking to it.
What to Serve It With
Honestly, these are a whole dessert experience on their own! But if you’re feeling extra fancy, a hot cup of coffee or a chai latte really complements the fall flavors. Or just a giant spoon and a quiet corner.
Tips & Mistakes
Don’t overmix your cream cheese mixture! You want it smooth and creamy, but overdoing it can incorporate too much air, making it less dense. Also, make sure your cream cheese is at room temperature. Cold cream cheese is lumpy, and nobody wants lumpy cheesecake. Lastly, let these chill. Seriously. The longer they sit, the more the flavors meld and the firmer they get. Patience is a virtue, especially when it comes to cheesecake.
Storage Tips
Keep it in the fridge… assuming there’s anything left. Midnight cold bites? Honestly better than fresh.
Variations and Substitutions
Swap whatever—honey ↔ sugar, tamari ↔ soy sauce—or skip a step and call it rustic. Still edible.
For these jars, try using crushed gingersnap cookies or Biscoff biscuits instead of graham crackers for a different spin. If you’re not a fan of pumpkin, you could omit the pumpkin puree and pumpkin pie spice for a classic no-bake cheesecake! Just boost the vanilla extract a bit.
Frequently Asked Questions
Easy Pumpkin Cheesecake Jars
Ingredients
Main Ingredients
- 1.5 cups pumpkin puree not pumpkin pie filling
- 1 cup cream cheese softened
- 0.75 cups sugar adjust if desired
- 1 teaspoon vanilla extract for added flavor
- 0.5 teaspoon cinnamon ground
- 0.25 teaspoon nutmeg freshly grated preferred
- 0.5 cups whipped cream for topping
- 4 tablespoons gingersnap crumbs for garnish
Instructions
Preparation Steps
- In a bowl, mix the pumpkin puree, softened cream cheese, sugar, vanilla, cinnamon, and nutmeg until smooth.
- Spoon the mixture into jars, layering with whipped cream and gingersnap crumbs.
- Chill in the fridge for at least 30 minutes before serving.
Notes
Nutrition
Featured Comments
“This juicy recipe was turned out amazing — the weeknight winner really stands out. Thanks!”
“This juicy recipe was turned out amazing — the crunchy really stands out. Thanks!”