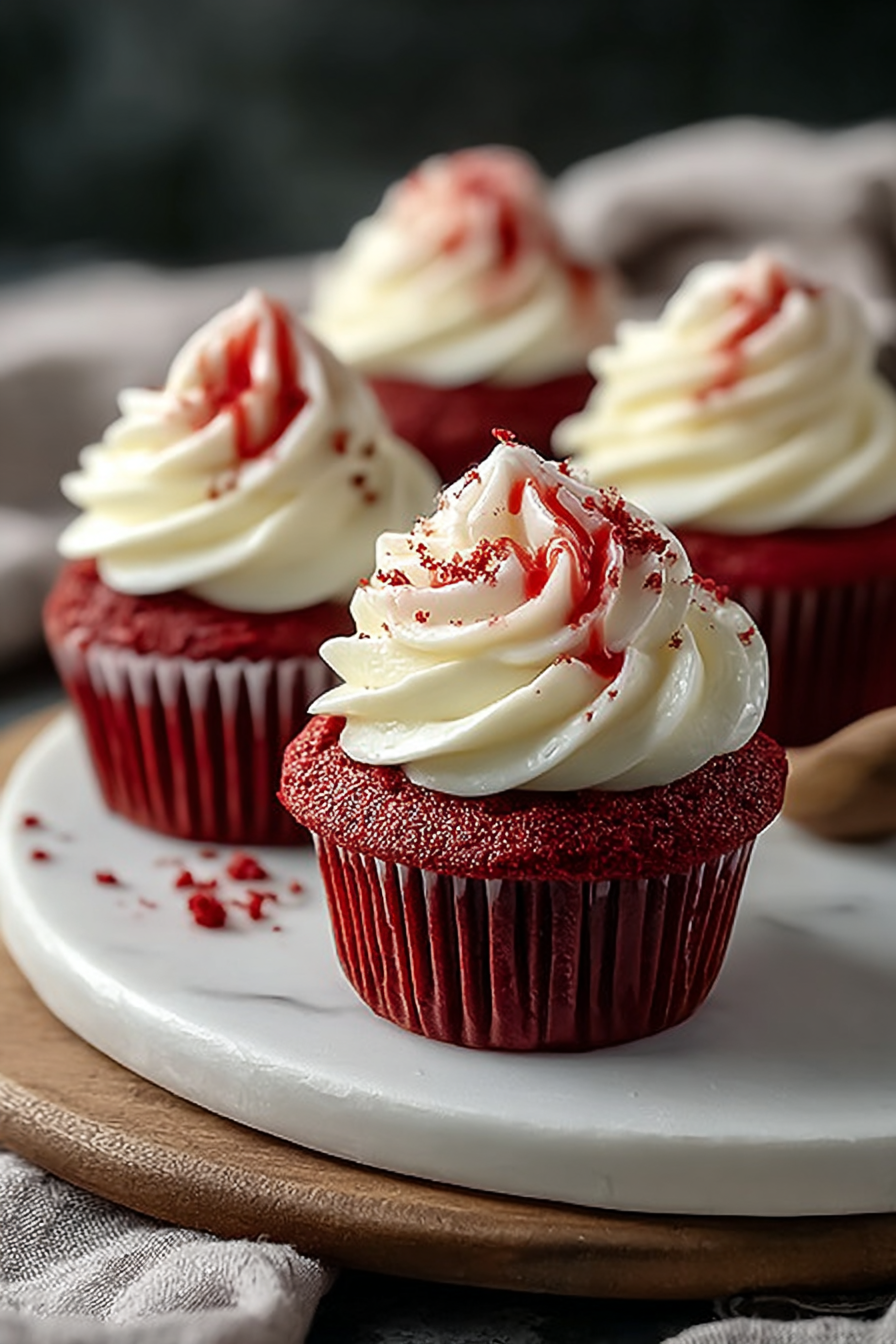
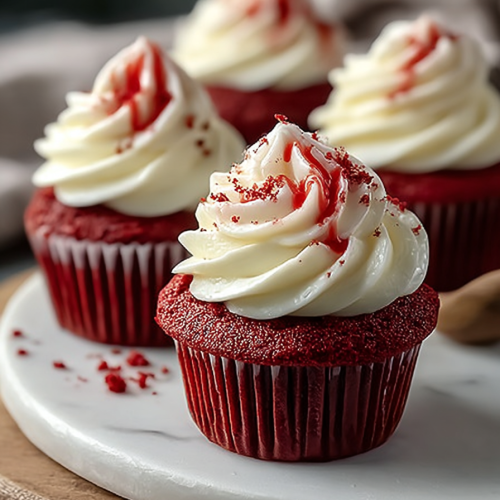
Delish Bloody Red Velvet Cupcakes
Okay, gather ’round, folks! I’m pretty sure I still have flour in my hair from yesterday, but that’s just part of the charm, right? Today, we’re diving headfirst into a recipe that’s as dramatic as my toddler’s bedtime routine but way more delicious: Delish Bloody Red Velvet Cupcakes. Picture this: the iconic, velvety texture you adore, a subtle hint of cocoa, all wrapped up in a startlingly vibrant crimson hue that’s absolutely perfect for when you want to look fancy without actually putting in fancy-person effort. Seriously, these aren’t just cupcakes; they’re a statement. A delicious, slightly alarming, “I’m a domestic goddess… who also owns a tiny blood-red food coloring stash” kind of statement. You absolutely need these in your life for parties, impressing your in-laws, or just Tuesday because, let’s be real, you deserve something this good.
The first time I made these, my husband, bless his cotton socks, walked into the kitchen and genuinely gasped. “Did you… are you making an organ for dinner?” he asked, pointing a horrified finger at the intensely red batter in the bowl. My kids, on the other hand, thought it was the coolest thing ever. My youngest, Leo, immediately started demanding “vampire cakes!” and tried to taste the batter *before* it even hit the cupcake liners. There was a brief, chaotic wrestling match involving me, Leo, a spatula, and a bowl of bright red goo. The kitchen looked like a crime scene after a particularly enthusiastic abstract painter had a meltdown. But you know what? When those “vampire cakes” came out of the oven, perfectly frosted with swirls of white, even my usually skeptical husband couldn’t resist. He ate three. With a straight face, he said, “Okay, maybe it’s not an organ.” Victory!
You may also like:
Why You’ll Love This Delish Bloody Red Velvet Cupcakes
- The Drama: These aren’t just red; they’re *bloody* red. They practically scream “I’m festive, I’m mysterious, and I probably have a great playlist.”
- Moist Perfection: Thanks to the buttermilk and a secret ingredient (okay, fine, it’s usually a touch of vinegar, but don’t tell anyone), these cupcakes are unbelievably moist and tender. No dry cake crumbs here!
- Flavour Bomb: That subtle cocoa paired with a classic cream cheese frosting? It’s a match made in dessert heaven. Like a tiny, delicious velvet cloud.
- Party Star: Whether it’s Halloween, Valentine’s Day, or a Tuesday where you just feel like being extra, these cupcakes are guaranteed to get oohs and aahs.
- Surprisingly Simple: Despite their show-stopping appearance, they’re surprisingly straightforward to whip up. Even I, the queen of kitchen catastrophes, can do it.
Time-Saving Hacks
- Shortcut that keeps you sane: Honestly, a really good quality red velvet cake mix is your best friend here. No shame in the box mix game when you’re adding your own flair. Just make sure to still use a good quality food coloring for that intense “bloody” hue.
- Hack that saves dishes but still looks like effort: Use an ice cream scoop to portion the batter into the cupcake liners. It’s mess-free, ensures even sizes, and looks like you measured each one perfectly. You’re welcome.
- The sneaky “cheat” you always pull when you’re in a rush: Store-bought cream cheese frosting. Shhh! Just whisk it vigorously for a minute to make it light and fluffy, and no one will ever know. Bonus points if you pipe it with a fancy tip.
Kitchen Confessions
- The disaster story: One time, I got so excited about the “bloody” aspect that I poured in way too much red food coloring. The batter looked like a horror movie prop, and when baked, the cupcakes were less “velvet” and more “dense, crimson bricks.” Learn from my mistakes: balance is key.
- A silly mistake you or your family made with this recipe: My husband, trying to be “helpful,” once added extra cocoa powder because he “thought it needed more chocolate.” It turned the “bloody” red into a murky brown-red. Still edible, but definitely not the dramatic effect we were going for!
- Honest admission: the messy part you secretly skip: Sifting the dry ingredients. I just whisk them *really* well in a big bowl, tell myself it’s the same, and hope for the best. Usually works out!
What to Serve It With
These beauties are begging to be paired with a strong cup of coffee or a tall glass of cold milk. For a truly decadent experience, serve them alongside a scoop of vanilla bean ice cream or, if you’re feeling extra fancy, a light raspberry coulis that plays into the “bloody” theme without being *too* on the nose. Perfect for a spooky movie night or a cozy afternoon treat.
Tips & Mistakes
Tip: Don’t overmix your batter! Overmixing develops gluten, leading to tough cupcakes. Mix just until combined, even if there are a few streaks of flour.
Mistake: Overbaking. Keep a close eye on them. Once a toothpick inserted into the center comes out with moist crumbs, they’re done. Dry crumbs mean you’ve gone too far, and no one wants dry cupcakes!
Tip: Bring all your cold ingredients (butter, eggs, buttermilk) to room temperature before you start. This helps them combine smoothly, giving you a beautiful, even batter.
Storage Tips
Keep it in the fridge… assuming there’s anything left. Midnight cold bites? Honestly better than fresh. Store these in an airtight container in the refrigerator for up to 3-4 days. The frosting will firm up slightly, but let them sit at room temperature for 15-20 minutes before serving for optimal softness.
Variations and Substitutions
Substitution: No buttermilk? No problem! For every cup of buttermilk needed, measure out regular milk and add one tablespoon of white vinegar or lemon juice. Let it sit for 5-10 minutes until it slightly curdles. Voila! Instant buttermilk.
Variation: Want to amp up the “bloody” factor for Halloween? Add a tiny drop of black food coloring to your red dye for a deeper, more sinister crimson. Or, for a twist, skip the red entirely and make “Black Velvet” cupcakes with dark cocoa and black food coloring. Still edible.
Frequently Asked Questions
Delish Bloody Red Velvet Cupcakes
Ingredients
Main Ingredients
- 1.1 cup all-purpose flour
- 1 cup granulated sugar
- 0.5 cup vegetable oil
- 0.5 cup buttermilk room temperature
- 1 large egg room temperature
- 1 tbsp red food coloring preferably gel-based for a rich color
- 1 tbsp vanilla extract
- 0.5 tsp baking soda
- 0.5 tsp salt
- 1 tbsp white vinegar
Instructions
Preparation Steps
- Preheat your oven to 350°F (175°C) and line a cupcake tin with paper liners.
- In a large mixing bowl, combine the all-purpose flour, sugar, baking soda, and salt.
- In another bowl, mix together the oil, buttermilk, egg, vanilla extract, and red food coloring until smooth.
- Gradually stir the wet ingredients into the dry mixture until just combined.
- Add the vinegar and gently fold it into the batter.
- Divide the batter evenly among the prepared cupcake liners.
- Bake in the preheated oven for about 20-25 minutes or until a toothpick inserted comes out clean.
- Allow cooling in the pan for a few minutes, then transfer to a wire rack to cool completely.
Notes
Nutrition
Featured Comments
“New favorite here — absolutely loved. weeknight winner was spot on.”
“Super easy and family favorite! My family asked for seconds. Saving this one.”