
Okay, so listen up, because I’m about to blow your mind and possibly your dinner plans. You know that craving for Wendy’s chili? The one that hits you out of nowhere, usually when you’re in your pajamas and a drive-thru sounds like too much effort? Yeah, me too. But what if I told you that you could whip up a batch of Delish Homemade Wendy’s Chili that tastes *exactly* like the real deal, but better, because you made it yourself? This isn’t just a recipe; it’s a nostalgic hug in a bowl, a secret weapon against bland weeknights, and frankly, a testament to my genius… or at least my ability to follow instructions from someone else’s genius. Get ready, because your kitchen is about to smell like pure comfort, and your taste buds are about to do a happy dance.
The first time I made this, I was feeling pretty smug, like I’d cracked the code to culinary world peace. I served it up, beaming, ready for the praise. My husband, bless his sweet, slightly unobservant heart, took one bite, looked at me, and asked, “Oh, did you pick up Wendy’s on the way home? I thought we were cooking tonight.” I almost cried. *Almost.* Then I just laughed, because honestly, that’s the highest compliment a copycat recipe can get, right? The kids, meanwhile, were just shoveling it in, oblivious to my emotional rollercoaster, occasionally pausing only to ask for more cheese or to wipe a chili smudge across their forehead. It was pure, messy chaos, exactly how every dinner should be, proving that even when I attempt gourmet-level fast food at home, the circus never truly leaves town.
You may also like:
Why You’ll Love This Delish Homemade Wendy’s Chili
- Nostalgia Trip: It tastes *just like* you remember, but you made it, so you get bragging rights.
- Budget-Friendly: Forget the drive-thru prices; this is way cheaper and makes a ton, so leftovers are a given.
- Healthy-ish: You control the ingredients! Less mystery meat, more… actual meat and beans. Mostly.
- Customizable Comfort: Want it spicier? Add more heat! Want more cheese? Pile it high! You’re the boss.
- Freezer-Friendly: Make a huge batch and freeze portions for those nights you just can’t adult anymore. Future you will thank current you.
Time-Saving Hacks
- Shortcut that keeps you sane: Grab a bag of pre-diced frozen onions and bell peppers. No tears, no fuss. You’re welcome.
- Hack that saves dishes but still looks like effort: Brown your ground beef in your Dutch oven, drain the fat, then add all the other ingredients directly to that same pot. One pot to rule them all!
- The sneaky “cheat” you always pull when you’re in a rush: Use canned diced tomatoes that are already seasoned (like fire-roasted or with green chilies). It adds depth without any extra measuring.
Kitchen Confessions
- The disaster story: One time, I was trying to multitask (a dangerous game, always) and forgot to stir the chili while it was simmering for, like, twenty minutes. Cue the frantic scraping of a thick, burnt layer from the bottom of my beautiful Dutch oven. The whole kitchen smelled faintly of “oops.”
- A silly mistake you or your family made with this recipe: My youngest, convinced he was a master chef, once decided to “help” by adding extra chili powder… with the cap off. The results were… potent. Good thing we had milk on standby!
- Honest admission: the messy part you secretly skip: Draining the ground beef *perfectly*. I usually just eyeball it, tilt the pot, and pour out the excess fat, probably leaving a tablespoon or two behind. It adds “flavor,” I tell myself. (It totally does.)
What to Serve It With
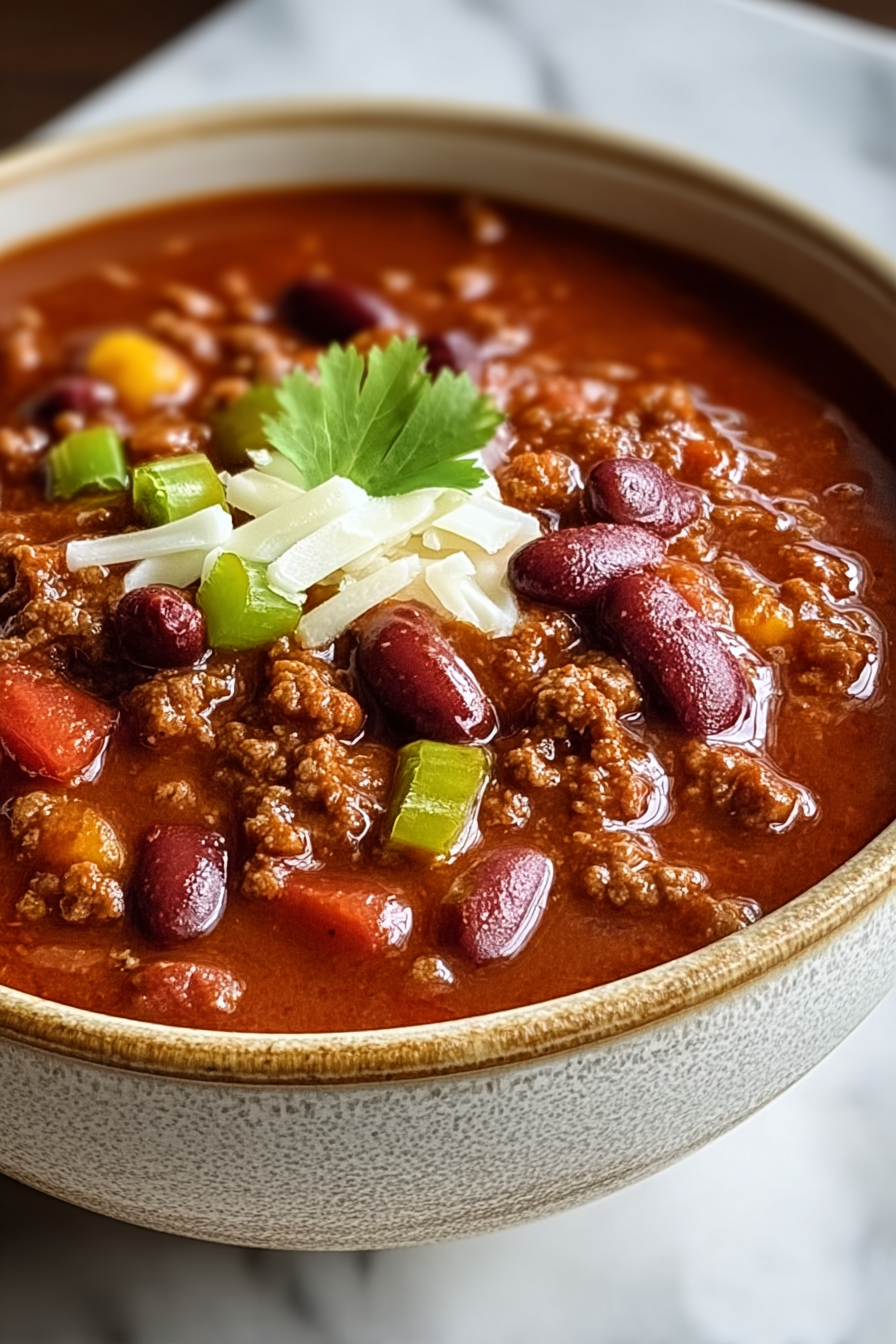
Honestly, this Delish Homemade Wendy’s Chili is pretty much a meal in itself. But if you’re feeling fancy (or just want more excuses for carbs and cheese), it’s fantastic with a generous sprinkle of shredded cheddar cheese, a dollop of sour cream, some crushed up Fritos, or a handful of oyster crackers. And don’t forget the hot sauce, if you’re into that sort of thing. A side of warm, buttery cornbread doesn’t hurt either!
Tips & Mistakes
Tip: Don’t skimp on the simmering time! That’s where all the flavors really meld and deepen. Give it at least 30-45 minutes, stirring occasionally. The longer, the better.
Mistake: Adding too much liquid upfront. Chili should be thick and hearty, not soupy. Start with the recommended amount and add a splash more broth only if it gets too thick for your liking. You can always add, but you can’t easily take away!
Tip: Taste as you go. Seriously, grab a spoon and adjust the salt, pepper, and chili powder until it sings to your soul. Every chili powder blend is different, so trust your palate!
Storage Tips
Keep it in the fridge… assuming there’s anything left. Midnight cold bites? Honestly better than fresh. This chili is practically famous for tasting even better the next day, after all those lovely spices have had more time to mingle and become best friends. Just pop it in an airtight container for up to 3-4 days.
Variations and Substitutions
Swap whatever—honey ↔ sugar, tamari ↔ soy sauce—or skip a step and call it rustic. Still edible. For this chili, if you’re not a fan of one type of bean, feel free to swap it for another—pinto, kidney, or even black beans work great. Want to sneak in more veggies? Finely dice some carrots or celery and cook them down with the onions. For a vegetarian version, swap the ground beef for plant-based crumbles and use vegetable broth.
Frequently Asked Questions
Delish Homemade Wendy's Chili
Ingredients
Main Ingredients
- 1.5 lb ground beef Use lean beef for a healthier option.
- 1 medium onion, diced
- 1 medium green bell pepper, chopped
- 3 cloves garlic, minced
- 2 c canned diced tomatoes With juices.
- 1.5 c kidney beans, drained and rinsed
- 1 c chili beans, with sauce
- 2 tbsp chili powder
- 1 tbsp cumin
- 1 tsp salt Adjust to taste.
- 1 tsp black pepper Freshly ground is best.
- 1 c beef broth Or substitute with vegetable broth.
Instructions
Preparation Steps
- In a large pot, brown the ground beef over medium heat until fully cooked. Drain off fat.
- Add the diced onion and green bell pepper to the pot. Sauté until soft, about 5 minutes.
- Stir in the garlic and cook for another minute until fragrant.
- Add the diced tomatoes, kidney beans, chili beans, chili powder, cumin, salt, and pepper. Mix well.
- Pour in the beef broth and bring the mixture to a gentle simmer.
- Reduce heat and let simmer uncovered for about 30 minutes, stirring occasionally.
- Taste and adjust seasoning if necessary before serving hot.
Notes
Nutrition
Featured Comments
“Impressed! Clear steps and absolutely loved results. Perfect for busy nights.”
“New favorite here — absolutely loved. cozy was spot on.”