
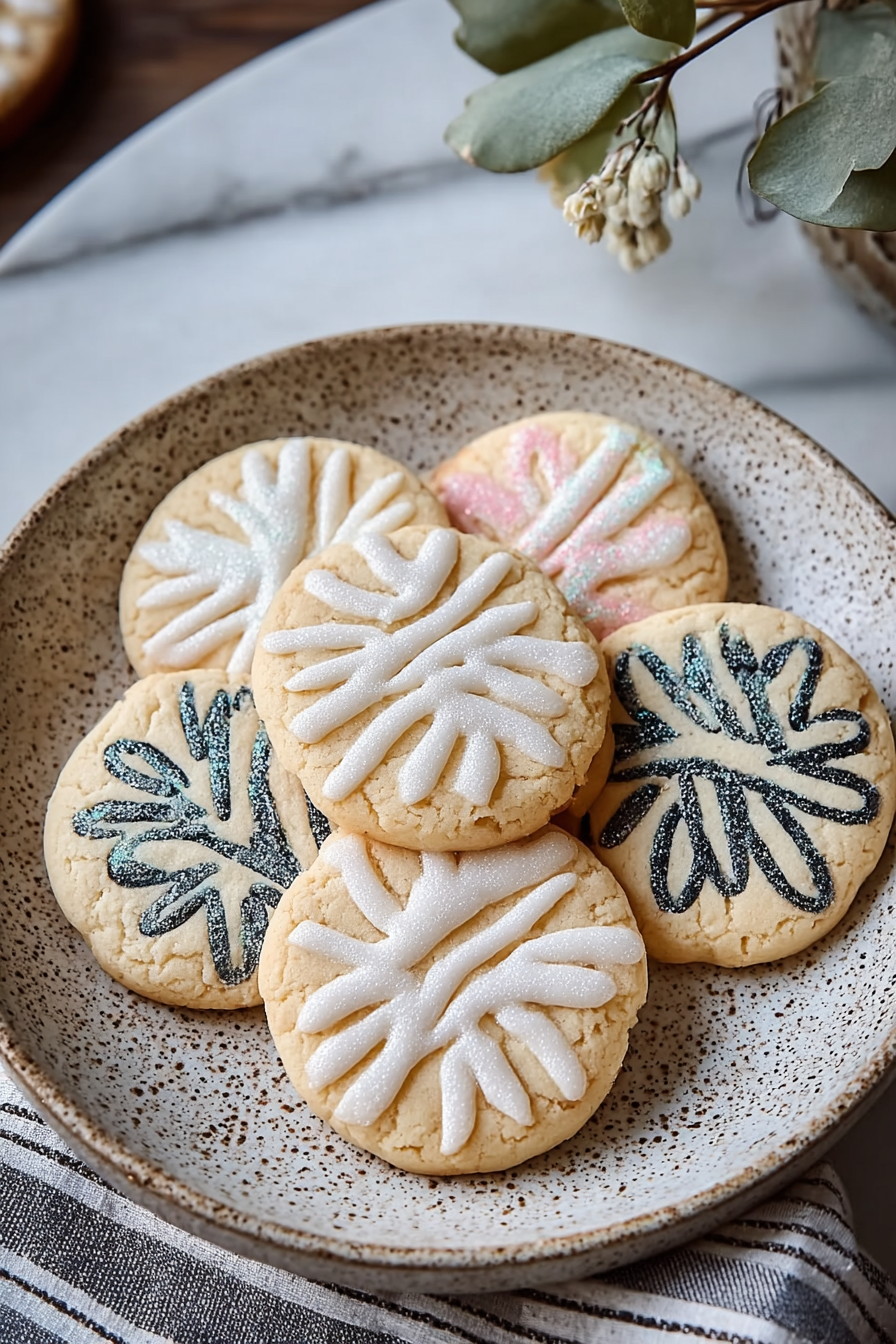
Alright, friends, pull up a wobbly kitchen stool and try not to knock over that stack of clean-ish dishes. Today, we’re diving headfirst into the glorious, buttery world of Delish Stitched Sugar Cookies. Now, I know what you’re thinking: “Stitched? Is this a cookie or a craft project gone wrong?” Trust me, it’s the kind of whimsical magic that looks like you spent hours painstakingly decorating, but it’s totally achievable, even after a chaotic Tuesday. They’re sweet, they’re tender, and they’ve got just enough visual flair to make your kids think you’re a wizard, and your neighbors think you’ve got your life together. (Don’t worry, our secret.)
The last time I made these, my husband, bless his cotton socks, decided he was going to be “head decorator.” He watched a 30-second TikTok on royal icing and declared himself a master. His idea of “stitching” involved squeezing the icing bag like it owed him money, resulting in what looked less like delicate embroidery and more like abstract art, or perhaps a toddler’s first attempt at graffiti. My 5-year-old, meanwhile, was strategically “sampling” all the sprinkles before they even hit the cookies, leaving me with a bare minimum to work with. I ended up with a tray of perfectly pretty ones and another tray that looked like a very excited bee had a rough landing. Guess which ones disappeared faster? The “abstract” ones, obviously. Because chaos always wins in this kitchen.
You may also like:
Why You’ll Love This Delish Stitched Sugar Cookies
- These cookies look fancy enough to impress your in-laws but don’t require a culinary degree or an all-nighter.
- They’re practically therapy. Rolling dough, cutting shapes, delicately piping (or, you know, just splatting)—it’s strangely calming. Until the kids show up.
- The buttery, vanilla-y base is so darn good, you almost don’t even need the icing. (Almost.)
- Perfect for any occasion that requires a touch of homemade charm, from holiday platters to “I’m sorry I accidentally burned dinner” apologies.
- They transport well, which means you can offload some of your sugary responsibilities onto grateful friends.
Time-Saving Hacks
- Shortcut that keeps you sane: Don’t feel guilty about using store-bought pre-made cookie icing. Seriously, some days, fighting with powdered sugar and egg whites just isn’t in the cards.
- Hack that saves dishes but still looks like effort: Line your baking sheets with parchment paper or silicone mats. Zero scrubbing burnt cookie bits, plus easy cleanup!
- The sneaky “cheat” you always pull when you’re in a rush: If the dough feels too warm to roll without sticking, pop the whole ball in the freezer for 10-15 minutes instead of the fridge. Instant chill!
Kitchen Confessions
- The disaster story: I once forgot I had a tray of these baking while I got utterly engrossed in a particularly dramatic podcast. The “stitched” part looked more like “charred.” My smoke alarm was very vocal about my poor life choices.
- A silly mistake you or your family made with this recipe: My son, convinced he was a professional chef, once tried to use a garlic press to make “thin lines” for the stitching. The result was… garlicky cookie dough in the bin.
- Honest admission: the messy part you secretly skip: I usually skip painstakingly cleaning up the edges of my cookies before baking. A little rustic charm, right? It just means more surface area for butter, that’s what I tell myself.
What to Serve It With
Honestly? A tall glass of icy cold milk is the classic, undefeated champion. But if you’re feeling extra cozy, a steaming mug of hot chocolate (with way too many marshmallows, naturally) or a strong, hot coffee is also a fantastic companion. For the adults, maybe a sneaky splash of Baileys in that coffee? Just sayin’.
Tips & Mistakes
Tip: Don’t skip chilling the dough! Seriously, this is the secret to cookies that hold their shape and don’t spread into one giant, misshapen blob. Give it at least an hour in the fridge.
Mistake: Over-flouring your workspace. While you need some flour to prevent sticking, too much will make your cookies tough. Use just enough to keep things from getting sticky.
Tip: Let your cookies cool completely before even thinking about icing them. Warm cookies will melt your careful “stitching” faster than a toddler can spot a rogue M&M.
Mistake: Rushing the icing drying process. If you stack them before the icing is completely set, you’ll end up with a sticky, smudged mess. Patience, grasshopper!
Storage Tips
Keep it in the fridge… assuming there’s anything left. Midnight cold bites? Honestly better than fresh. Store these beauts in an airtight container at room temperature for up to a week, or in the fridge if your kitchen runs warm. If they’re iced, make sure the icing is completely dry before layering them with parchment paper in between to prevent sticking.
Variations and Substitutions
Swap whatever—honey ↔ sugar, tamari ↔ soy sauce—or skip a step and call it rustic. Still edible. For these cookies, you could swap vanilla extract for almond extract for a slightly different flavor profile. If you’re not feeling the “stitched” design, go wild with sprinkles, edible glitter, or a simple flood icing. You can also mix in a teaspoon of lemon zest into the dough for a bright, citrusy twist.
Frequently Asked Questions
Delish Stitched Sugar Cookies
Ingredients
Main Ingredients
- 1.15 cup granulated sugar Sweetens the cookies nicely.
- 0.75 cup unsalted butter Softened for easier mixing.
- 1 large egg Adds richness and binding.
- 2.5 cups all-purpose flour The main structure of the cookies.
- 0.5 tsp baking powder Helps cookies rise.
- 0.5 tsp vanilla extract For aromatic flavor.
Instructions
Preparation Steps
- Preheat your oven to 350°F (175°C).
- In a bowl, cream together the sugar and softened butter until light and fluffy.
- Beat in the egg and vanilla extract until fully combined.
- In another bowl, mix the flour and baking powder.
- Gradually stir the dry ingredients into the wet mixture until a dough forms.
- Roll out the dough on a floured surface to about 1/4 inch thick.
- Cut into desired shapes and place on lined baking sheets.
- Bake for 10-12 minutes or until golden.
- Let cool on sheets before transferring to wire racks.
Notes
Nutrition
Featured Comments
“Made this last night and it was turned out amazing. Loved how the fresh came together.”
“Impressed! Clear steps and family favorite results. Perfect for busy nights.”