PICKLE-FRIED CHICKEN WILL BE YOUR NEW FAVORITE WAY TO MAKE CHICKEN
There’s a reason fried chicken holds such a special place in our hearts: that perfect crunch, the juicy interior, and the comforting flavors that transport you straight to a happy place. But what if I told you there’s a secret ingredient that elevates this classic to an entirely new level of deliciousness? Enter pickle-brined fried chicken. It’s exactly what it sounds like – chicken marinated in dill pickle juice – and it infuses every bite with an incredible tang, tenderness, and a subtle savory depth you simply won’t get any other way. Trust me, once you try it, your regular fried chicken might just feel a little… flat.
My husband, bless his traditional heart, was initially skeptical when I first mentioned “pickle chicken.” He pictured soggy, overtly sour chicken, but I assured him it was a game-changer. The first time I pulled a batch of these golden-brown beauties from the oil, the aroma alone had him hovering. He took one bite, and his eyes widened. “This is… genius!” he declared, and from that day on, pickle-brined fried chicken became a non-negotiable request for our weekend dinners. It’s now a cherished staple, particularly when we have friends over, always sparking conversation and delighting everyone with its unexpected, yet utterly delicious, twist.
You may also like:
Why You’ll Love This pickle-fried-chicken-will-be-your-new-favorite-way-to-make-chicken
- Unbelievable Tenderness: The acids in the pickle brine work magic, tenderizing the chicken fibers without making it mushy, resulting in incredibly juicy meat.
- Flavor Beyond Compare: Forget bland fried chicken! The brine infuses a complex savory, tangy, and slightly salty flavor deep into the chicken, making it far more exciting.
- Crispy, Flavorful Crust: The unique interaction of the brine with the chicken and the seasoned dredge creates an exceptionally crispy and well-adhering crust that crackles with every bite.
- A Fun, Unexpected Twist: It’s a fantastic way to surprise and impress guests, offering a familiar comfort food with a delightful and memorable flavor profile.
- Simple Secret, Big Impact: Despite its gourmet taste, the secret ingredient is humble and easy to find, making this elevated dish surprisingly approachable for home cooks.
Behind the Recipe
What I’ve truly learned over countless batches of this chicken is that the magic really starts with the brine. It’s not just about adding flavor; it’s about transformation. Don’t skimp on brining time—giving it at least 4 hours, or even better, overnight, makes all the difference in tenderness and flavor penetration. Another key is the dredge: a well-seasoned flour mixture is crucial. I like to add a touch of cornstarch for extra crispness and ensure a generous amount of paprika, garlic powder, and a whisper of cayenne for warmth. Finally, the oil temperature is paramount for that perfect golden, crispy exterior and thoroughly cooked interior. Too cold, and it’s greasy; too hot, and it burns before it’s done. A steady medium heat is your best friend.
Shopping Tips
- Chicken: Opt for bone-in, skin-on chicken pieces like thighs and drumsticks. They stay moister and develop more flavor during frying.
- Pickle Juice: Look for good quality dill pickle juice, often found in larger jugs or jars of pickles. Avoid sweet or bread-and-butter varieties for this recipe.
- All-Purpose Flour: Any standard all-purpose flour will work beautifully for the crispy dredge. A gluten-free 1:1 blend can also be a good alternative if needed.
- Frying Oil: Choose a neutral oil with a high smoke point, such as peanut, vegetable, or canola oil. You’ll need enough to submerge the chicken halfway.
- Spices: Ensure your pantry is stocked with staples like garlic powder, onion powder, paprika, and a pinch of cayenne pepper for the flavorful coating.
- Buttermilk (Optional): While not strictly part of the brine, a quick dip in buttermilk after brining and before dredging can add another layer of flavor and help the coating adhere.
Prep Ahead Ideas
The beauty of this recipe is that a significant part of the prep can happen well in advance. The chicken can be brined in the pickle juice for up to 24 hours, meaning you can get that essential step out of the way the day before you plan to fry. You can also mix all your dry dredge ingredients together in a large bowl or a resealable bag hours before, so it’s ready to go when you are.
Time-Saving Tricks
If you’re short on time, using boneless, skinless chicken thighs or tenders will significantly reduce cooking time while still benefiting from the pickle brine. You can also shallow-fry the chicken in a skillet with less oil, flipping it occasionally, which is quicker than deep-frying and uses less oil, though it might yield a slightly less uniform crispness.
Common Mistakes
One of the most common pitfalls is not patting the brined chicken completely dry before dredging; excess moisture leads to a soggy crust that slides right off. Another mistake is overcrowding the frying pan, which drops the oil temperature too much, resulting in greasy chicken. Also, not allowing the chicken to come closer to room temperature for about 30 minutes before frying can lead to uneven cooking—burnt outside, raw inside.
What to Serve It With
This pickle-brined fried chicken pairs wonderfully with classic Southern sides. Think creamy coleslaw, fluffy mashed potatoes with gravy, sweet corn on the cob, or warm, buttery biscuits. A simple green salad with a bright vinaigrette also offers a nice counterpoint to the richness.
Tips & Mistakes
Storage Tips
Store in airtight containers in the fridge. It reheats beautifully, but if you sneak a bite cold straight from the container, it still works.
Variations and Substitutions
While the dill pickle brine is the star here, you could experiment with adding a teaspoon of smoked paprika or a dash of hot sauce to the brine for an extra layer of flavor. For the breading, feel free to adjust the spice levels—a bit more cayenne for heat, or even a blend of your favorite dry herbs. If you prefer a lighter take, you can try air frying the brined and dredged chicken for a crispier, less oily result, though the deep-fried classic is truly hard to beat for that authentic experience.
Frequently Asked Questions

PICKLE-FRIED CHICKEN WILL BE YOUR NEW FAVORITE WAY TO MAKE CHICKEN
Ingredients
Main Ingredients
- 4 piece chicken thighs or drumsticks bone-in, skin-on
- 2 cup dill pickle juice from a jar of dill pickles
- 1 cup buttermilk for soaking
- 2.5 cup all-purpose flour
- 0.5 cup cornstarch for extra crisp
- 1 tablespoon paprika smoked or sweet
- 1 teaspoon garlic powder
- 1 teaspoon onion powder
- 0.5 teaspoon cayenne pepper adjust to taste
- 1 teaspoon salt may reduce if pickle juice is very salty
- 1 teaspoon black pepper
- 4 cup vegetable oil for deep frying
- 1 cup dill pickles sliced, for serving
Instructions
Preparation Steps
- Place the chicken pieces in a large bowl or resealable bag. Pour the dill pickle juice and buttermilk over the chicken, ensuring pieces are submerged. Cover and refrigerate for at least 3 hours or overnight for best flavor.
- When ready to fry, remove the chicken from the brine and let excess liquid drip off. In a large bowl, whisk together the flour, cornstarch, paprika, garlic powder, onion powder, cayenne, salt, and black pepper.
- Dredge each chicken piece thoroughly in the seasoned flour mixture, pressing the flour onto the skin to form a thick coating. Place dredged pieces on a wire rack and let rest 10 minutes to help coating adhere.
- Heat the vegetable oil in a deep skillet or Dutch oven to 350°F (175°C). Use enough oil to submerge the chicken halfway (about 3 to 4 cups depending on your pot). Maintain temperature between 325°F and 350°F while frying.
- Carefully add chicken pieces to the hot oil in batches, skin side down. Fry for about 10 to 12 minutes per side for bone-in pieces, or until internal temperature reaches 165°F and coating is deep golden brown and crispy.
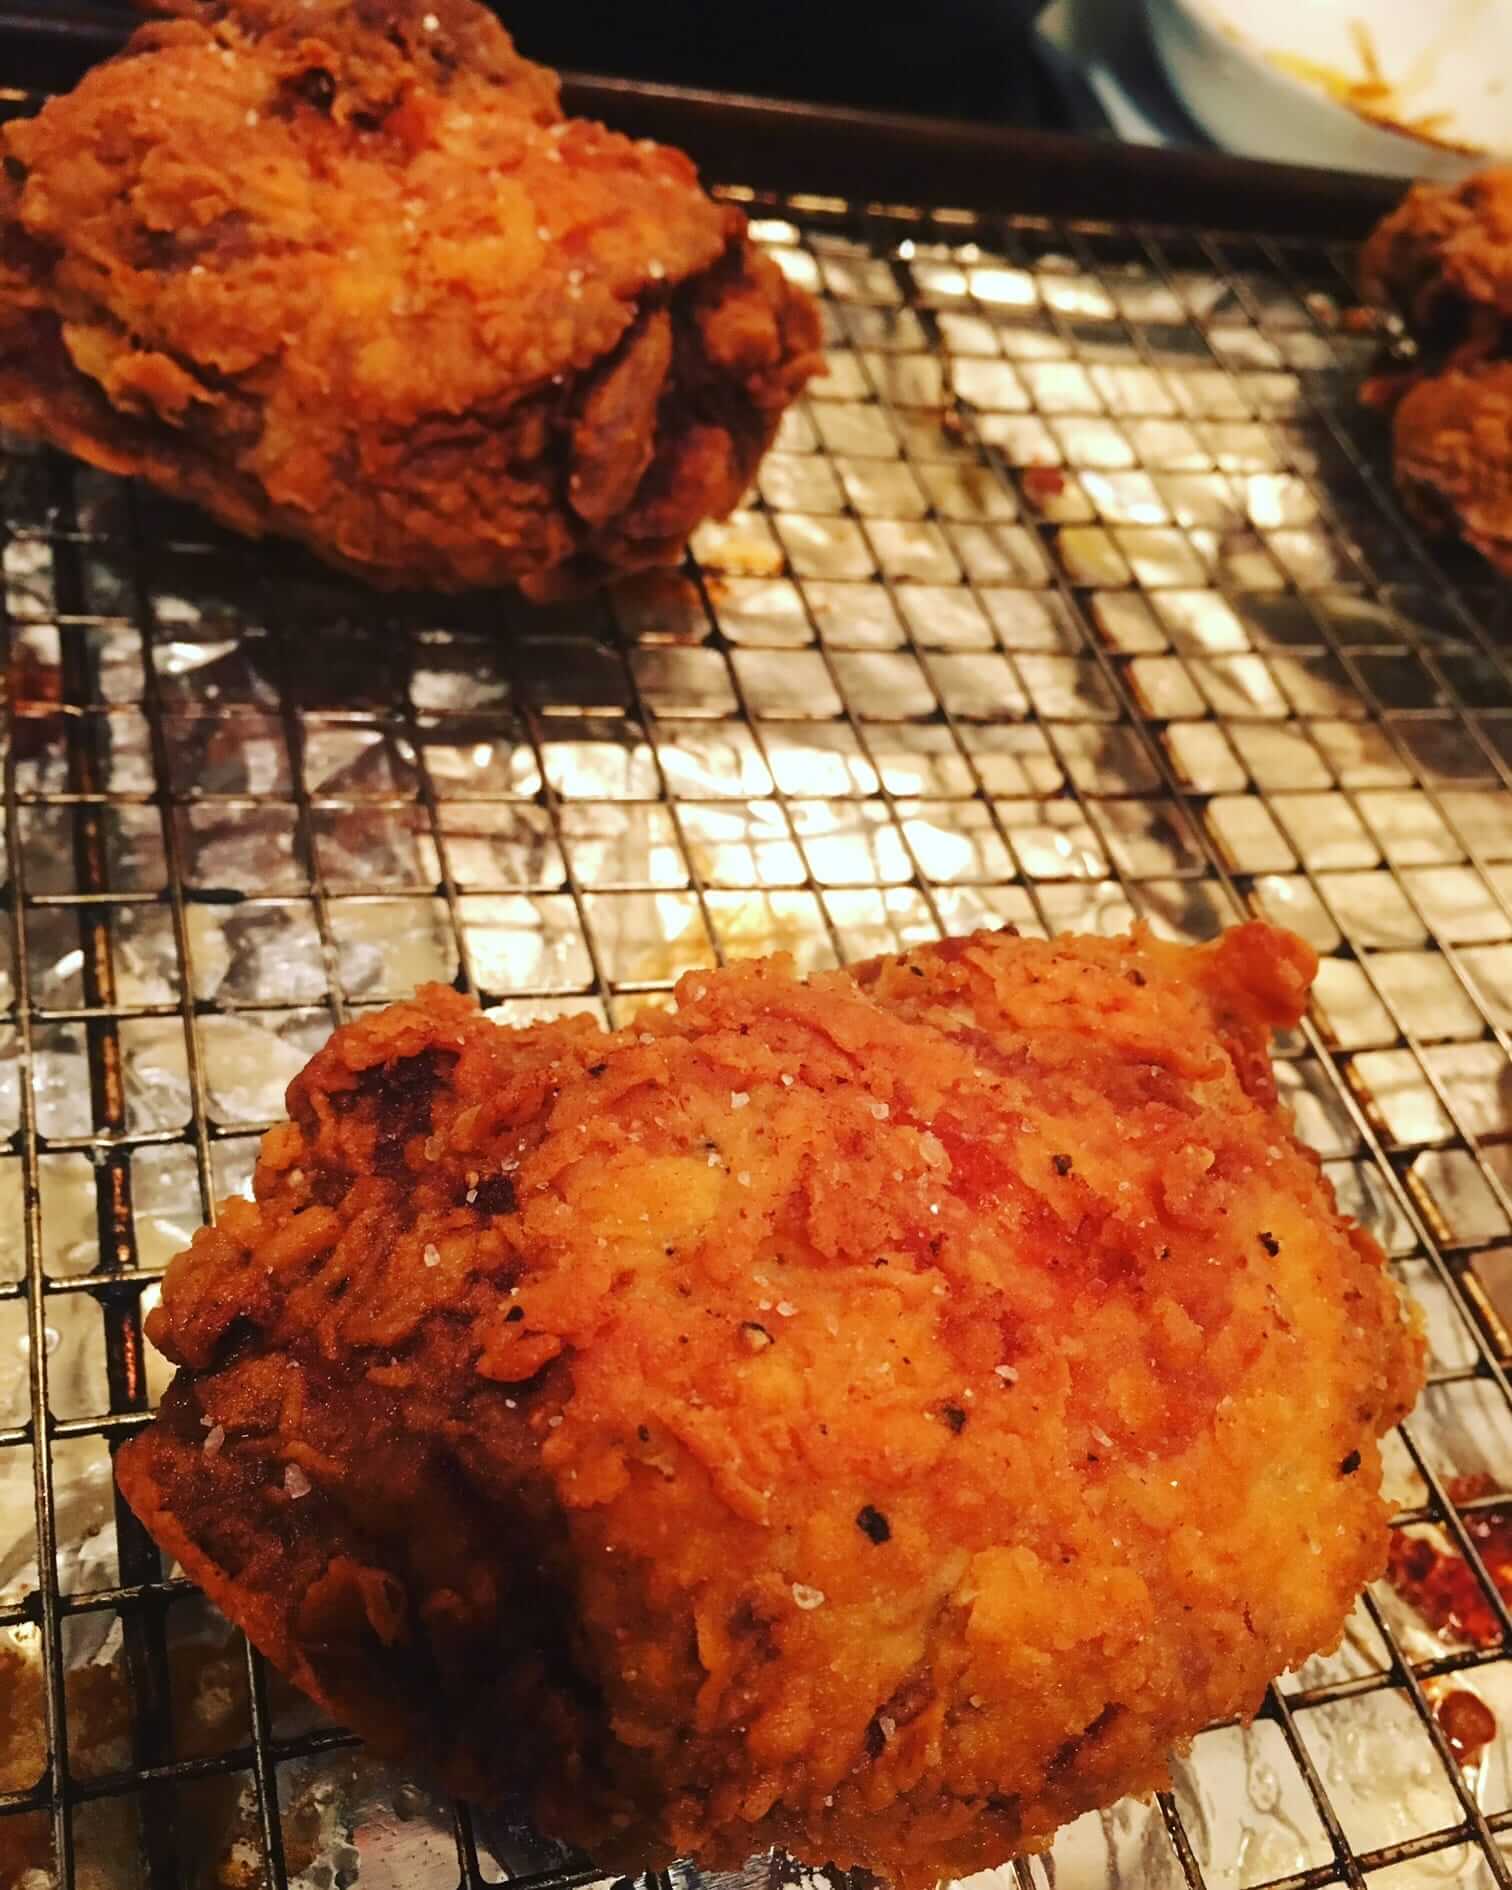
- Transfer fried chicken to a wire rack set over a sheet pan to drain and rest for 5 minutes. This keeps the crust crisp while the chicken finishes cooking through.
- Serve hot with sliced dill pickles on the side and your favorite dipping sauce. Leftovers keep well refrigerated for 2 days and can be reheated in a 375°F oven to crisp.
Notes
Featured Comments
“Made this last night and it was absolutely loved. Loved how the weeknight winner came together.”
“Impressed! Clear steps and absolutely loved results. Perfect for busy nights.”