MELT IN YOUR MOUTH CHICKEN
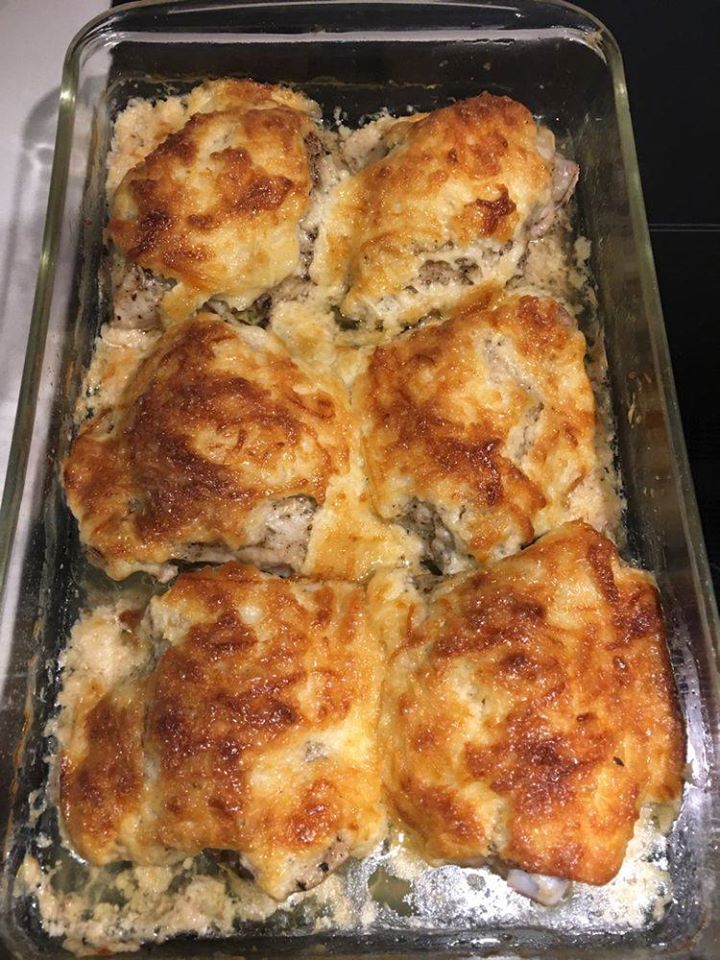
There are some dishes that just feel like coming home, and this incredible chicken recipe is absolutely one of them. Imagine succulent chicken thighs, cooked until they’re so unbelievably tender they practically melt in your mouth, enveloped in a rich, savory sauce infused with fragrant herbs and aromatics. It’s a dish that tastes complex and comforting, yet is surprisingly straightforward to prepare, making it a perfect candidate for both impressive dinner parties and relaxed weeknight meals. If you’re searching for that ultimate chicken dish that consistently delivers on flavor and tenderness, look no further; this is the recipe you’ll be adding to your permanent rotation.
My husband, bless his heart, is a man of simple pleasures, but he’s also notoriously discerning when it comes to chicken. For years, I struggled to find a chicken thigh recipe that truly wowed him, something beyond the usual pan-fried or roasted fare. Then, one blustery fall evening, I decided to experiment with a slow-braising method, layering flavors with onions, garlic, and fresh herbs. The aroma alone had him peeking into the kitchen repeatedly, and when he finally took his first bite, his eyes lit up. He declared it the best chicken he’d ever eaten, and from that day on, this melt-in-your-mouth chicken became our go-to comfort food. It’s the dish we turn to after a long week, the one that guarantees clean plates and happy sighs around the dinner table.
You may also like:
Why You’ll Love This melt-in-your-mouth-chicken
This “Melt-in-Your-Mouth Chicken Thighs” recipe is a true testament to simple ingredients creating extraordinary results, and here’s why I know you’ll adore it as much as we do.
It’s incredibly forgiving, perfect for both seasoned cooks and those new to the kitchen, allowing you to achieve restaurant-quality tenderness without stress.
The rich, savory pan sauce that develops during cooking is pure liquid gold, perfect for spooning over mashed potatoes, rice, or soaking up with crusty bread.
You’ll appreciate how easily it adapts to your schedule; it can be prepped ahead and even tastes better the next day, making it an ideal candidate for meal planning.
Using humble chicken thighs means it’s a budget-friendly meal that still feels incredibly luxurious and satisfying, making your grocery dollar go further.
The subtle blend of herbs and aromatics creates a complex flavor profile that isn’t overpowering, making it a guaranteed crowd-pleaser for all ages and palates.
The deep, caramelized crust you achieve from a good sear before braising adds an irresistible texture and depth of flavor that sets this dish apart.
Behind the Recipe
What I’ve learned over countless batches of this chicken is that patience truly is a virtue, especially when it comes to developing those deep, foundational flavors. Many people rush the searing step, but that initial browning of the chicken thighs is critical for creating layers of flavor and a beautiful golden crust that holds up to the braising. Another common pitfall is overcrowding the pan, which steams the chicken instead of searing it. Give those thighs space! The small touches that really elevate this dish include using bone-in, skin-on chicken for maximum flavor and moisture, and not being shy with aromatics like fresh garlic and onions. Deglazing the pan after searing with a splash of broth or white wine, capturing all those flavorful bits, is also a non-negotiable step for an incredibly rich sauce.
Shopping Tips
- Chicken Thighs: Opt for bone-in, skin-on chicken thighs for the most flavor and to ensure they stay incredibly moist. Look for packages with consistent sizing for even cooking.
- Fresh Aromatics: Always choose firm, unblemished onions and plump garlic heads. The freshness of these foundational ingredients really shines through in the final dish.
- Chicken Broth: Select a good quality, low-sodium chicken broth or stock. This allows you to control the saltiness of your sauce and build flavor without it being overly salty.
- Fresh Herbs: A bunch of fresh rosemary or thyme will make a world of difference. Look for vibrant, green leaves without any wilting or yellowing.
- Olive Oil: A good quality extra virgin olive oil is ideal for searing. It adds a lovely subtle fruitiness to the initial base of the sauce.
Prep Ahead Ideas
You can get a head start on this recipe by chopping your onions and garlic a day in advance. Store them in airtight containers in the fridge. The chicken thighs can also be seasoned and left to marinate for a few hours or even overnight in the refrigerator; this allows the flavors to really penetrate the meat.
Time-Saving Tricks
If you’re really short on time, using pre-minced garlic or pre-chopped onions can shave off a few precious minutes, although the flavor won’t be quite as vibrant as fresh. A quick sear of the chicken in an oven-safe skillet before transferring it to the oven eliminates an extra dish and speeds up the process slightly compared to stovetop-only braising.
Common Mistakes
One of the most common mistakes is not searing the chicken thighs sufficiently. A deep golden-brown crust adds immense flavor, so don’t rush this step. Another pitfall is overcrowding the pan during searing, which lowers the temperature and steams the chicken instead of browning it. Cook in batches if necessary. Finally, make sure not to overcook the chicken once it’s braising; while it’s forgiving, it should still be pulled from the oven once it reaches that fall-apart tender stage, usually around an internal temperature of 175-180°F for dark meat, though tenderness is key for this dish.
What to Serve It With
This melt-in-your-mouth chicken is wonderfully versatile. It pairs beautifully with creamy mashed potatoes, fluffy rice, or even a simple polenta to soak up all that incredible sauce. A side of roasted asparagus, green beans, or a crisp green salad would complete the meal perfectly. Don’t forget some crusty bread for dipping!
Tips & Mistakes
Storage Tips
Store in airtight containers in the fridge. It reheats beautifully, but if you sneak a bite cold straight from the container, it still works.
Variations and Substitutions
While the classic version with rosemary or thyme is truly sublime, you can certainly play with the herbs—a sprig of fresh sage or bay leaves would also be lovely. For a spicier kick, a pinch of red pepper flakes added with the garlic is fantastic. If you prefer boneless, skinless chicken thighs, they will work, but reduce the cooking time and know you’ll miss out on some of the richness the skin and bone provide. Chicken breasts are not recommended for this specific recipe as they tend to dry out with the longer braising time required to achieve the “melt-in-your-mouth” texture.
Frequently Asked Questions
MELT IN YOUR MOUTH CHICKEN
Ingredients
Main Ingredients
- 2 pounds boneless skinless chicken thighs
- 2 tablespoons olive oil
- 2 tablespoons unsalted butter melted
- 4 cloves garlic minced
- 1 teaspoon paprika
- 1.5 teaspoons kosher salt
- 0.5 teaspoon black pepper freshly ground
- 1 teaspoon garlic powder
- 1 teaspoon onion powder
- 1 tablespoon fresh lemon juice
- 0.25 cup fresh parsley chopped
Instructions
Preparation Steps
- Preheat the oven to 425°F (220°C). Pat the chicken thighs dry with paper towels and place them in a large bowl.
- In a small bowl whisk together olive oil, melted butter, minced garlic, lemon juice, paprika, garlic powder, onion powder, salt and pepper.
- Pour the mixture over the chicken and toss to coat evenly. Let sit for 10 minutes to absorb flavors (or refrigerate up to 2 hours).
- Arrange the thighs skinless side up on a rimmed baking sheet or in a shallow roasting pan, spaced slightly apart.
- Roast in the preheated oven for 30–35 minutes, until an instant-read thermometer inserted into the thickest part reads 165°F and juices run clear. For a slightly crisp exterior, broil 2–3 minutes at the end, watching closely.
- Remove from oven and let rest 5 minutes. Sprinkle with chopped parsley before serving.
Notes
Featured Comments
“This al dente recipe was family favorite — the rich really stands out. Thanks!”
“Super easy and family favorite! My family asked for seconds. Saving this one.”