Delish Crispy Honeycomb Candy
Alright, friends, pull up a wobbly kitchen stool, try not to trip over the dog, and let’s chat about something truly magical: Delish Crispy Honeycomb Candy. Seriously, if you’ve ever dreamed of making that light, airy, unbelievably crunchy candy that shatters perfectly in your mouth – you know, the kind that feels like pure sunshine and mischief – then buckle up, buttercup. This isn’t just candy; it’s a science experiment gone delicious, a little bit of alchemical wizardry you can totally pull off, even if your usual baking specialty is toast. You absolutely, positively *have* to try this because it’s ridiculously impressive, surprisingly simple, and will make you feel like a domestic goddess (or god!) with minimal actual effort.
My husband, bless his sweet, bottomless-pit heart, practically does a happy dance every time I even *mention* making this. The last time, I swear he hovered over the counter like a hawk eyeing a particularly plump field mouse while it was cooling. He kept asking, “Is it ready yet? Can I just *touch* it? Is that crack in the corner big enough for a sample?” Then, when I finally gave the all-clear, he grabbed a piece, took a bite, and just stood there, eyes wide, muttering about how I was some kind of “sugar witch” who made edible gold. My kids? They just called it “crunchy fairy bread” and proceeded to attempt to stick pieces to their foreheads, which, naturally, resulted in a sticky situation requiring an emergency bath. It’s chaos, but it’s *our* sticky, sugary chaos, and honestly, that’s half the fun.
You may also like:
Why You’ll Love This Delish Crispy Honeycomb Candy
- You’ll feel like a bona fide candy maker, even if your usual dessert is a store-bought cookie you strategically re-plated.
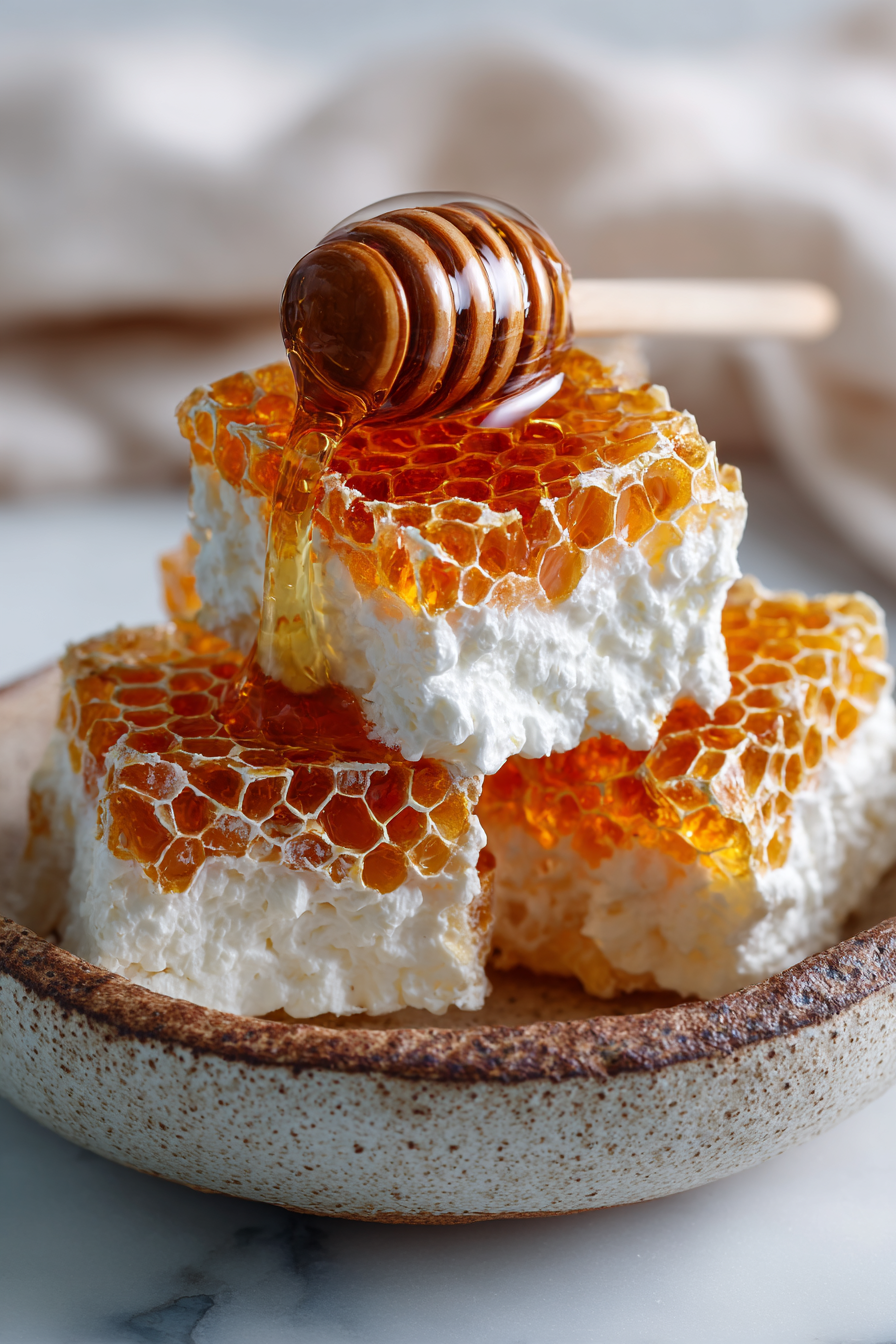
- That satisfying CRUNCH. Seriously, it’s therapeutic. Forget stress balls; just bite into this.
- It requires minimal ingredients, meaning fewer grocery runs and more time for important things, like napping or scrolling through dog videos.
- It’s ridiculously versatile! Eat it plain, dip it in chocolate, crumble it over ice cream – the world is your crunchy, sugary oyster.
- It’s a fantastic gift, mostly because it looks way fancier than the actual effort involved. Win-win!
Time-Saving Hacks
- Shortcut that keeps you sane: Honestly, the biggest hack here is having all your ingredients measured and ready to go *before* you start heating anything. Sugar waits for no one, and neither does cooling honeycomb!
- Hack that saves dishes but still looks like effort: Line your baking sheet with parchment paper AND give it a light spray of cooking oil. No sticky mess on the pan, and the parchment just rolls up for easy cleanup. Boom!
- The sneaky “cheat” you always pull when you’re in a rush: If you don’t have a candy thermometer (gasp!), just watch the color. Aim for a deep amber, like a good quality maple syrup. It’s not exact, but it’s usually “good enough” for a quick fix.
Kitchen Confessions
- The disaster story: Oh, honey. My first attempt? I got distracted by a squirrel outside the window (it was doing something hilarious, okay?) and the sugar went from perfect amber to the color of motor oil in about 0.2 seconds. The smoke alarm sang its mournful song, and my kitchen smelled like a burnt sugar factory for a day. Learn from my char-y mistakes: stay glued to that pot!
- A silly mistake you or your family made with this recipe: My youngest once thought the baking soda was sprinkles and tried to add a *second* spoonful after it was already mixed in. It, uh, fizzed a lot. The texture was less “crispy honeycomb” and more “chalky sugar foam.” Tasted… interesting.
- Honest admission: the messy part you secretly skip: I often skip perfectly cutting it into uniform squares. I just let it cool and then smash it into delightfully irregular, rustic shards. It feels more authentic, less like I’m trying too hard, and frankly, it’s faster.
What to Serve It With
Honestly, it’s divine on its own, but if you want to get fancy, crumble it over a scoop of vanilla bean ice cream, use it as a crunchy garnish for a chocolate mousse, or simply dunk shards of it into a steaming mug of hot chocolate for an epic treat. Some people even dip entire pieces in melted chocolate (milk or dark!), which is pure next-level decadence.
Tips & Mistakes
Always use a heavy-bottomed pot to prevent scorching. Seriously, your sugar will thank you. When you add the baking soda, stir *quickly* and then pour immediately onto your prepared pan – it sets super fast! Don’t overmix the baking soda, or you’ll lose that glorious airy texture. And for the love of all that is delicious, resist the urge to touch it while it’s hot; that stuff is molten sugar and will stick to you like superglue. Let it cool COMPLETELY before breaking it up, or you’ll just end up with sticky goo.
Storage Tips
Keep it in the fridge… assuming there’s anything left. Midnight cold bites? Honestly better than fresh.
Variations and Substitutions
Swap whatever—honey ↔ sugar, tamari ↔ soy sauce—or skip a step and call it rustic. Still edible.
For this particular recipe, you could swap some of the corn syrup for golden syrup for a slightly different flavor profile. Just stick to the sugar and a liquid sweetener ratio.
Frequently Asked Questions
Featured Comments
“Super easy and so flavorful! My family asked for seconds. Saving this one.”
“This warming recipe was absolutely loved — the weeknight winner really stands out. Thanks!”