
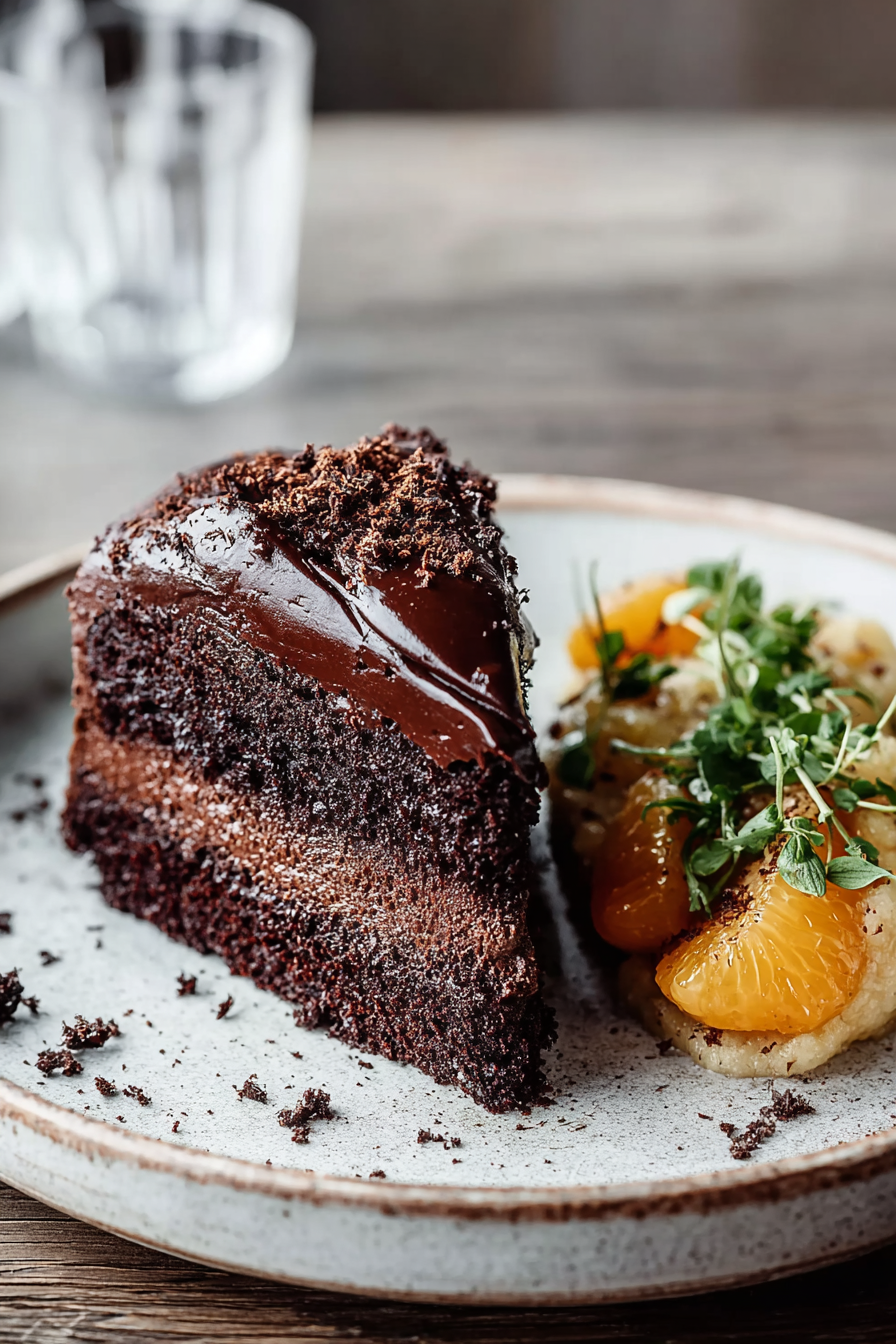
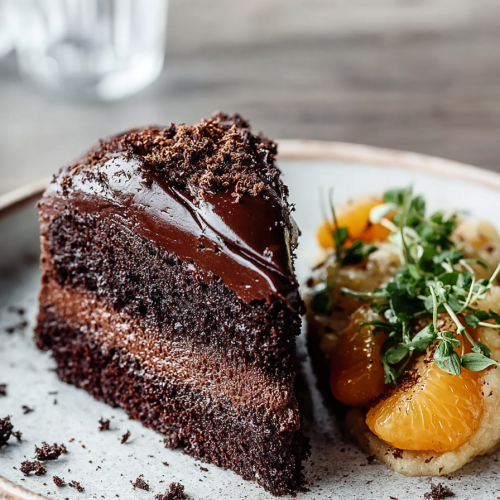
Alright, gather ’round, folks, and try not to trip over that stack of cookbooks I swear I’m going to organize someday. Today, we’re diving headfirst into the glorious, dark abyss that is Delish Dark Chocolate Blackout Cake. Now, before you start picturing some overly complicated, fussy bake that requires three days and a culinary degree, hold your horses. This isn’t that. This is the kind of cake that looks like you wrestled a pastry chef and won, but secretly, it’s as forgiving as your favorite sweatpants on a Monday morning. It’s special because it’s *dark*, I’m talking seriously rich, intensely chocolatey, but in a way that just whispers sweet nothings to your soul, not punches you in the face with sugar. You need this in your life because sometimes, you just need a chocolate hug that doesn’t ask any questions, and this cake delivers.
My husband, bless his heart, acts like this cake is a rare, endangered species that needs constant guarding. The last time I made it, I turned my back for literally thirty seconds to wrestle a toddler into actual clothes, and I swear he had already stealthily carved out a “taste test” slice the size of Texas. Then he tried to convince me *he* cut it that way to “even out the cake distribution.” Yeah, right, honey. Meanwhile, my kids, who usually demand unicorn sprinkles on everything, just stood there with chocolate smeared up to their eyebrows, looking like tiny, ecstatic coal miners. The kitchen was a war zone, but honestly, seeing their little faces so utterly delighted made cleaning up the chocolate handprints on the ceiling fan almost worth it. Almost.
You may also like:
Why You’ll Love This Delish Dark Chocolate Blackout Cake
- It’s Chocolate on Chocolate on More Chocolate: Because sometimes, you just need to commit. This isn’t for the faint of heart, it’s for the full-throttle chocolate lover.
- Looks Insanely Impressive (with minimal fuss): Everyone will think you spent hours, when really, you just have a killer recipe up your sleeve and a few cheeky shortcuts.
- The Ultimate Comfort Food: Had a rough day? This cake understands. It’s a velvety, rich hug that will mend all woes, or at least distract you from them for a solid half hour.
- Surprisingly Easy to Make: Don’t let the “blackout” intimidate you. If you can mix things in a bowl, you can make this cake. Trust me, I’ve had worse baking days trying to make cookies.
Time-Saving Hacks
- Sane Shortcut: Seriously, line your cake pans with parchment paper circles. It takes two minutes and saves you the grief of a stuck cake layer later. Future you will send thank you cards.
- Dish-Saving Hack: Melt your chocolate for the ganache in the microwave-safe bowl you plan to whisk everything else in. One less pot to scrub is a win in my book.
- The Sneaky “Cheat” You Always Pull When You’re in a Rush: If you’re really in a bind for the frosting, a high-quality store-bought dark chocolate frosting can be doctored up with a tablespoon of cocoa powder and a splash of hot coffee to taste homemade. Don’t tell anyone I told you that.
Kitchen Confessions
- The Disaster Story: The first time I attempted a layer cake, I skipped the “let it cool completely” step (who has time for that?!). Suffice to say, my frosting turned into a chocolate lava slide, and my layers became more of a leaning tower of Pisa. It tasted good, but looked like a child’s art project.
- A Silly Mistake You or Your Family Made With This Recipe: My eldest, thinking she was “helping,” once decided the cocoa powder looked like kinetic sand and started playing with it. We had a black cloud situation, and everything in a five-foot radius looked like it had been dusted for fingerprints.
- Honest Admission: The Messy Part You Secretly Skip: Sifting flour and cocoa powder. Sometimes, I just dump it all in. If there are a few lumps, I call it “rustic texture.” Shhh.
What to Serve It With
A tall, cold glass of milk (the ultimate pairing, fight me), a scoop of really good vanilla bean ice cream to cut through the richness, or for the grown-ups, a small espresso shot or a robust red wine. If you’re feeling fancy, a few fresh raspberries look gorgeous and add a tart bite.
Tips & Mistakes
Always use good quality dark chocolate; it truly makes a difference here. Don’t overmix your batter – a light hand keeps the cake tender. Make sure all your ingredients (especially eggs and butter) are at room temperature for a smooth emulsion and consistent bake. And for the love of all that is chocolate, let your cake layers cool COMPLETELY before even thinking about frosting them. I learned this the hard way.
Storage Tips
Keep it in the fridge… assuming there’s anything left. Midnight cold bites? Honestly better than fresh.
Variations and Substitutions
For an extra layer of complexity, add a teaspoon of instant espresso powder to the hot water in the recipe—it deepens the chocolate flavor without making it taste like coffee. You could also swap half the butter for avocado oil for a slightly lighter (and secretly healthier, wink) crumb. Feel free to use almond extract instead of vanilla for a different flavor profile, or even a tiny pinch of cayenne pepper for a subtle spicy kick.
Frequently Asked Questions
Delish Dark Chocolate Blackout Cake
Ingredients
Main Ingredients
- 1.5 cup all-purpose flour
- 1 cup unsweetened cocoa powder
- 1 cup granulated sugar
- 0.75 cup brown sugar
- 1 cup buttermilk or substitute with regular milk mixed with vinegar
- 0.5 cup vegetable oil
- 3 large eggs
- 2 tsp vanilla extract
- 1.5 tsp baking powder
- 1.5 tsp baking soda
- 0.5 tsp salt
Instructions
Preparation Steps
- Preheat your oven to 350°F (175°C). Grease and flour two 9-inch round cake pans.
- In a large bowl, mix together the flour, cocoa powder, granulated sugar, brown sugar, baking powder, baking soda, and salt.
- In a separate bowl, whisk the eggs, then add the buttermilk, oil, and vanilla extract. Combine well.
- Gradually add the wet ingredients to the dry ingredients, mixing until smooth and well combined.
- Pour the batter evenly into the prepared pans and smooth the tops.
- Bake in the preheated oven for 30-35 minutes or until a toothpick inserted in the center comes out clean.
- Allow the cakes to cool in the pans for 10 minutes before transferring to wire racks to cool completely.
Notes
Nutrition
Featured Comments
“Super easy and will make again! My family asked for seconds. Saving this one.”
“This vibrant recipe was absolutely loved — the rich really stands out. Thanks!”